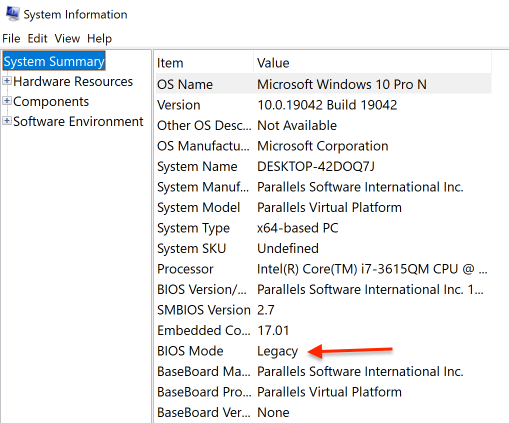
This weekend assignment was to upgrade a couple of old Windows 10 VMs to Windows 11 in Parallels Desktop 17. I couldn’t do that right away because Windows Update was complaining about the lack of the TPM chip. A little research revealed that TPM chips only work on UEFI BIOS. To check which BIOS version was being used in my VMs, I used the msinfo32 (System Information) application. It showed the BIOS to be of “Legacy” type. So my task was now to switch it to UEFI.
I looked high and low with little luck. Parallels the product is incredible. Not so much its documentation and online support. At some point, I landed in the Parallels forums, a vast ocean of scarcely useful threads from which I usually try to stay the hell away. The Parallels personnel there has a long-standing tendency to copy & paste ready-made and irrelevant solutions. Users are left to their own, and, luckily, one of them posted the perfect solution to my Legacy-to-UEFI BIOS migration problem. I am reposting it here, with minor edits, for future reference (my future self will be grateful):
- Back up your VM
- Boot into your Windows 10 VM as usual
- While holding down Shift key: Start -> Power -> Restart
- Select Troubleshoot, then Advanced options
- Select Command Prompt
- Log in with your account and Microsoft password (not your pin)
- Type:
mbr2gpt /validateand hit return; this will check your hard disk - If there’s a problem, type:
mbr2gpt /validate /allowFullOSand hit return - Type
mbr2gpt /convertand hit return. It will convert the MBR disk partition scheme to GUID. It might complain about WinRE or something, but generally, if it says “conversion was a success,” you can typeexitand hit return to kill the command prompt and return to the advanced menu - Choose “Turn off PC.” You don’t want to restart Windows yet
- Find your VM file in the Finder, right-click on it, and choose: “Show Package Contents.”
- Find the config.pvs file and open it with a text editor
- Search for the section
<Bios dyn_lists=""> - Change
<EfiEnabled>from 0 to 1 - Change
<EfiSecureBoot>from 0 to 1 - Save the file
- Open the VM Configuration, go to the Hardware tab, click the “+”, and add the TPM Chip
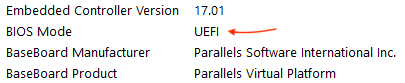
At this point you can run Windows 10 as you usually would. At fist launch, right after the login, I got a critical error and a hard restart (the original poster reported the same experience.) After that, the VM is stable. A quick msinfo32 check confirms that the VM is now on UEFI BIOS.
Should Windows Update still complain, that’s probably because of the CPU limitation check. You can disable it:
- Open the Registry Editor
- Navigate to
HKEY_LOCAL_MACHINE\SYSTEM\Setup\MoSetup - Search for
AllowUpgradesWithUnsupportedTPMOrCPU - Change its value to 1
- Restart the VM
Personally, I did not need to alter the registry, and I got very old VMs to upgrade. At the time of this writing, Windows 11 installation is at 94% and I am confident it will be successful.